Water damage to drywall is one of the most common problems Florida homeowners face, and the biggest question is always the same: can you patch it, or does the whole section need to come out? The answer depends on a handful of factors that are easy to assess once you know what to look for. This guide breaks down the key indicators that tell you whether a simple patch will hold or a full replacement is the only safe option. Getting this decision right saves you money, prevents mold, and protects the structural integrity of your home.
Key Takeaways
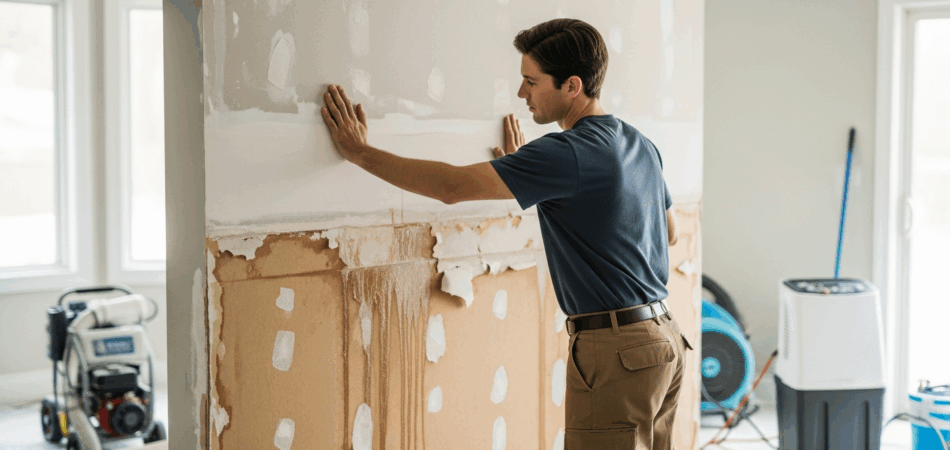
- Check the drywall’s firmness first. Press gently on the damaged area. If it feels solid despite surface staining, patching is usually an option. If it feels soft, spongy, or crumbles under light pressure, that section needs full replacement.
- The water source and type matter. Clean water from a supply line is very different from contaminated water from a sewer backup. Category 2 or 3 water (gray or black water) always requires removal and replacement of affected drywall, no exceptions.
- Time is the deciding factor. Drywall that stayed wet for more than 48 hours has likely started growing mold inside, even if it looks fine on the surface. When in doubt about how long the area was wet, replacement is the safer call.
How to Tell If Your Drywall Can Be Patched
Not all water damage is created equal. A small leak caught early might leave nothing more than a discolored spot that dries out completely. In those cases, a patch and repaint can make the wall look like new. The key is knowing what separates a cosmetic issue from a structural one. Before you grab the joint compound, take a few minutes to properly assess the damage. Here are the signs that suggest patching is a realistic option.
Surface Staining Without Structural Damage
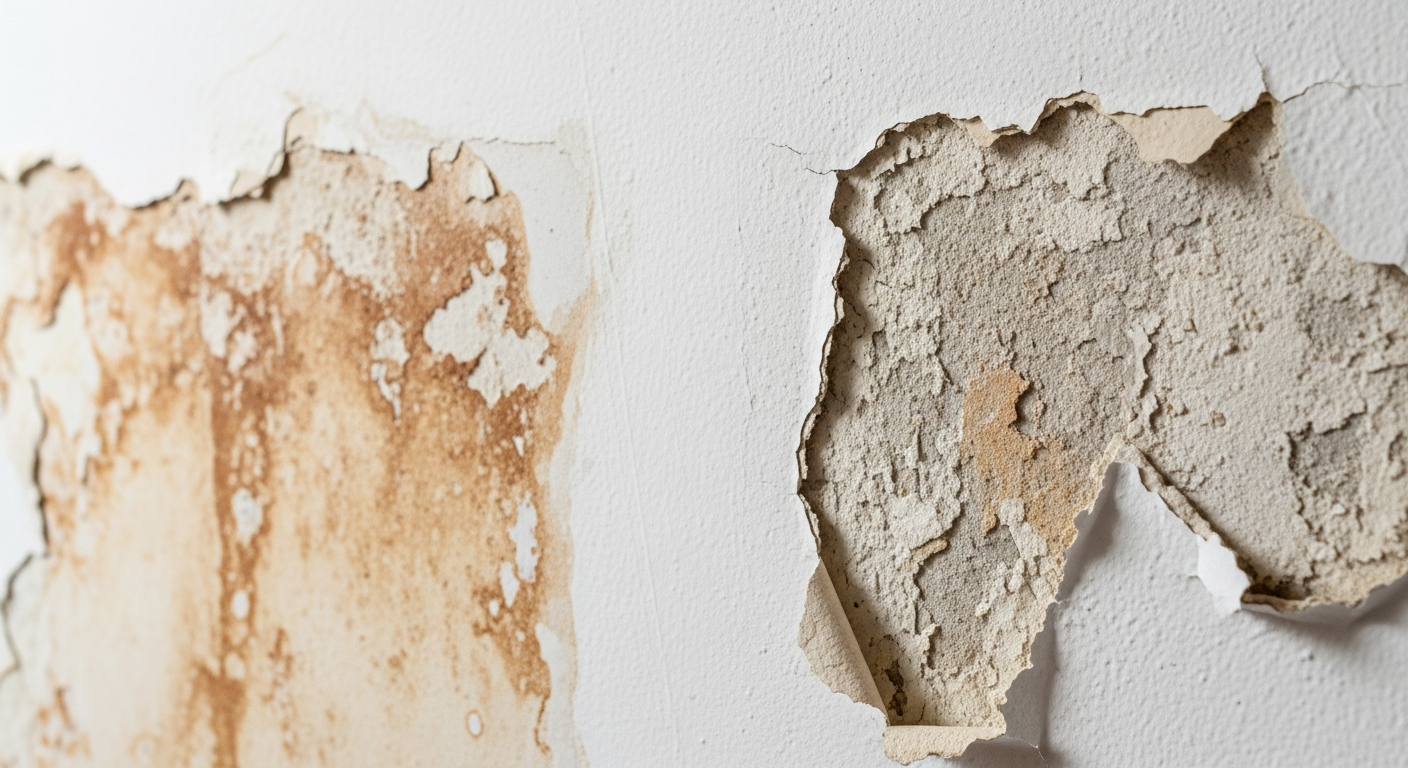
The simplest form of water damage is a surface stain, usually a yellowish or brownish ring on the wall or ceiling. If you press on the stained area and the drywall feels firm and solid, the material itself is likely intact. The water touched the surface, left its mark, and either dried on its own or was cleaned up quickly. In this scenario, patching is straightforward. Sand the stained area lightly, apply a stain-blocking primer, and repaint. For slightly larger stains where the surface texture has changed, you may need to skim-coat with joint compound before priming.
Small, Localized Damage Areas
If the damaged section is smaller than about 12 inches in diameter and the surrounding drywall is completely dry and firm, a patch repair is almost always the right call. This includes small areas where the paper facing has bubbled or peeled but the gypsum core underneath is still solid. A professional can cut out the damaged section, install a patch piece of drywall, tape and mud the seams, and finish the surface so you would never know the repair was there. This is a common scenario after a minor plumbing leak that was caught and fixed quickly.
Damage Limited to One Side of the Wall
When water affects only one side of the drywall, such as a splash or minor spray that did not soak through to the back of the panel, the damage is surface-level. You can verify this by checking the other side of the wall (if accessible) or using a moisture meter. If moisture readings are normal on the back side and the drywall still has its structural strength, a surface repair is appropriate.
When Drywall Replacement Is the Only Safe Option
Sometimes, no amount of patching will create a lasting fix. Water that has penetrated deep into the gypsum core permanently changes the drywall’s composition. It loses strength, warps, and becomes a breeding ground for mold. Trying to patch over severely damaged drywall is like putting a fresh coat of paint on a rotting fence, it might look better for a week, but the problem underneath keeps getting worse. Here are the clear indicators that replacement is necessary.
The Drywall Feels Soft, Spongy, or Crumbles
This is the single most reliable test. Press your hand against the damaged area. Healthy drywall is firm and rigid. If the wall gives under pressure, feels spongy, or pieces crumble off when you press or scratch, the gypsum core is saturated. Once the core absorbs water, it loses its structural integrity permanently. No amount of drying will restore a crumbled gypsum core to its original strength. The affected section must be cut out and replaced with new drywall. This is especially common after a burst pipe that floods an area behind a wall.
Visible Warping, Sagging, or Buckling
Water-saturated drywall is heavy. A standard 4×8 sheet of 1/2-inch drywall weighs about 50 pounds dry, but can absorb several times its weight in water. When ceiling drywall gets this heavy, it starts to sag visibly. Wall sections may bow outward or buckle at the seams. These are signs that the material has been soaked through and compromised. Sagging ceilings are especially dangerous because a waterlogged drywall panel can collapse suddenly, posing a serious injury risk. If you see sagging, keep people out of the room and call a professional immediately.
Signs of Mold Growth
Mold can start growing on damp drywall in as little as 24 to 48 hours. Look for dark spots, fuzzy patches, or a persistent musty smell in the area. Mold does not just sit on the surface of drywall. It sends roots (called hyphae) deep into the porous gypsum material, which means you cannot simply wipe it off or treat it with a surface spray. Once mold has colonized drywall, that section must be removed and replaced. Attempting to paint over or patch mold-damaged drywall only hides the problem and allows the mold to continue spreading behind the wall.
Contaminated Water Was Involved
Not all water is the same when it comes to damage. Water damage professionals classify water into three categories:
- Category 1 (Clean): Water from a broken supply line or faucet. This is the least risky and may allow for drying and patching in some cases.
- Category 2 (Gray): Water from appliance overflows, washing machines, or dishwashers. Contains some contaminants that can cause illness.
- Category 3 (Black): Water from sewer backups, toilet overflows, or floodwater. Highly contaminated and hazardous.
If your drywall was exposed to Category 2 or 3 water, replacement is mandatory regardless of how the drywall looks or feels. Contaminated water introduces bacteria, chemicals, and other hazardous materials into the porous drywall that cannot be fully removed through drying or cleaning.
The Patch vs. Replace Decision Checklist
Use this quick checklist to make the right call:
| Factor | Patch | Replace |
|---|---|---|
| Drywall firmness | Feels solid and rigid | Soft, spongy, or crumbling |
| Damage size | Smaller than 12 inches | Larger areas or multiple spots |
| Duration of exposure | Less than 24 hours | More than 48 hours |
| Water category | Category 1 (clean water) | Category 2 or 3 (gray/black) |
| Mold presence | No mold or musty smell | Visible mold or strong odor |
| Structural changes | No warping or sagging | Warping, buckling, or sagging |
| Moisture meter reading | Dry on both sides | Elevated on back side or in cavity |
If any single factor falls in the “Replace” column, replacement is the recommended course of action. Water damage is one of those situations where it is always better to err on the side of caution.
How a Professional Handles the Repair Process
Whether you are looking at a patch job or a full panel replacement, hiring a certified professional makes a significant difference in the quality and longevity of the repair. Here is what a proper restoration process looks like from start to finish.
Step 1: Find and Fix the Water Source
Before touching the drywall, a professional will identify and stop the source of water. This might mean repairing a leaky pipe, fixing a roof issue, or addressing poor drainage. Any drywall repair done before the source is eliminated is a waste of time and money because the damage will simply return. A thorough water damage restoration process always starts here.
Step 2: Dry the Area Completely
Using industrial-grade dehumidifiers and air movers, the professional will dry the affected area thoroughly. Moisture meters are used to verify that the wall cavity, studs, insulation, and surrounding materials are all within acceptable moisture ranges before any repair begins. Skipping this step is one of the most common DIY mistakes homeowners make. The role of proper drying equipment cannot be overstated, and dehumidifiers are a critical part of this process.
Step 3: Remove Damaged Materials
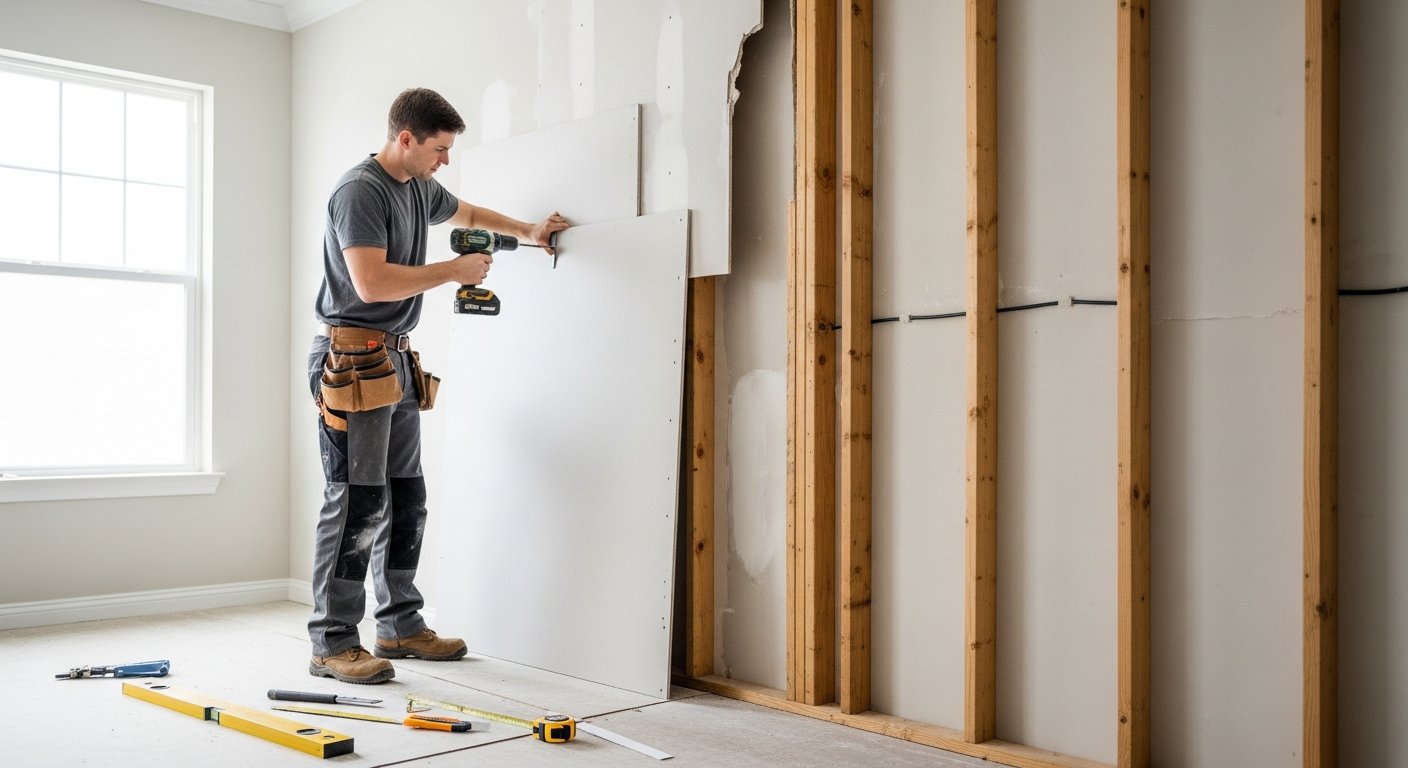
For replacement jobs, the damaged drywall is cut out cleanly, typically extending at least 12 inches beyond the visible damage to ensure all compromised material is removed. Wet insulation behind the wall is also pulled and replaced. Any mold found on the studs or framing is treated before new materials go in.
Step 4: Install, Tape, and Finish
New drywall is cut to fit, secured to the studs, and taped at the seams with joint compound. Multiple coats of mud are applied and sanded smooth to create an invisible repair. The area is then primed with a stain-blocking primer and painted to match the surrounding wall.
Common Mistakes to Avoid
Drywall water damage repair seems straightforward, but there are several common errors that lead to bigger, more expensive problems down the road.
Painting Over Water Stains Without Investigating
A fresh coat of paint hides the stain, but it does not address the moisture that caused it. If the source of the water is still active, even as a slow drip, the damage will continue behind the paint and eventually resurface, often much worse.
Patching Drywall That Should Be Replaced
This is the most expensive mistake because you pay for the patch job now and then pay again for the replacement later. If the drywall is soft, crumbling, or has been wet for an extended period, patching it is a temporary fix at best. The compromised material will continue to degrade and may develop mold.
Ignoring the Wall Cavity
Water does not stop at the drywall. It soaks into the insulation, framing, and can pool on the floor inside the wall cavity. A professional will open up the wall to check behind the drywall and ensure everything inside is dry and mold-free before sealing it back up.
Skipping the Moisture Test
Never assume drywall is dry just because it looks dry on the surface. Moisture can be trapped deep inside the wall for weeks after the initial event. A moisture meter reading is the only way to verify the area is ready for repair.
Frequently Asked Questions
Does drywall always need to be replaced after water damage?
No. If the drywall was exposed to clean water for a short period (under 24-48 hours) and still feels firm and solid, it can often be dried, patched, and repainted. Replacement is necessary when the gypsum core is compromised, mold is present, or contaminated water was involved.
How much does it cost to patch drywall vs. replace it?
Patching a small area typically costs between $150 and $400 depending on the size and location. Full panel replacement, including drying the wall cavity and finishing, can range from $500 to $1,500 or more per affected area. However, patching damaged drywall that should be replaced often costs more in the long run when the problem resurfaces.
Can I do drywall water damage repair myself?
Minor surface repairs like sanding and repainting a small water stain are manageable as a DIY project. However, anything involving cutting out drywall, checking for mold, or dealing with wall cavity moisture is best left to a professional. Improper repairs can lead to hidden mold growth and structural issues.
How long can drywall be wet before it needs to be replaced?
Drywall can typically be saved if it is dried within 24 to 48 hours and has not lost its structural integrity. After 48 hours, the risk of mold growth increases significantly, and the material may have already begun breaking down internally.
What does water-damaged drywall look like?
Common signs include yellowish-brown stains, bubbling or peeling paint, warped surfaces, soft spots when pressed, and visible mold. You may also notice a persistent musty odor near the damaged area even when no damage is visible.
Protect Your Home With the Right Repair
Getting the patch-vs-replace decision right the first time protects your home and your wallet. When you are unsure, a professional assessment is always the safest route. Drywizard Restoration and Drywall offers free estimates for all types of water damage restoration across the Tampa Bay area. Our IICRC-certified team will evaluate the damage, explain your options, and get your home back to normal. Call (813) 684-4800 for a fast response, or contact us online to schedule your free assessment.